Set up SMTP with FluentSMTP
Send your site's emails through Mailgun or your own email provider.
Before you start
Sites hosted with 1ClickWebsite already send form emails, so you usually only need this if you moved your site to your own hosting or want to send from your own email service. To change which inbox gets submissions, use Set up contact form emails instead.
Have these details from your email provider ready: SMTP host, port, encryption type, username, password, and the sender email and name. We recommend Mailgun.
Good to know: this one has to be done in WordPress, because the Website Agent can't install plugins. For edits to your pages, text or design, ask the agent instead.
Install FluentSMTP
If FluentSMTP is already installed and active, skip to the next section.
-
Open WordPress admin Log in to WP Admin for your site.
-
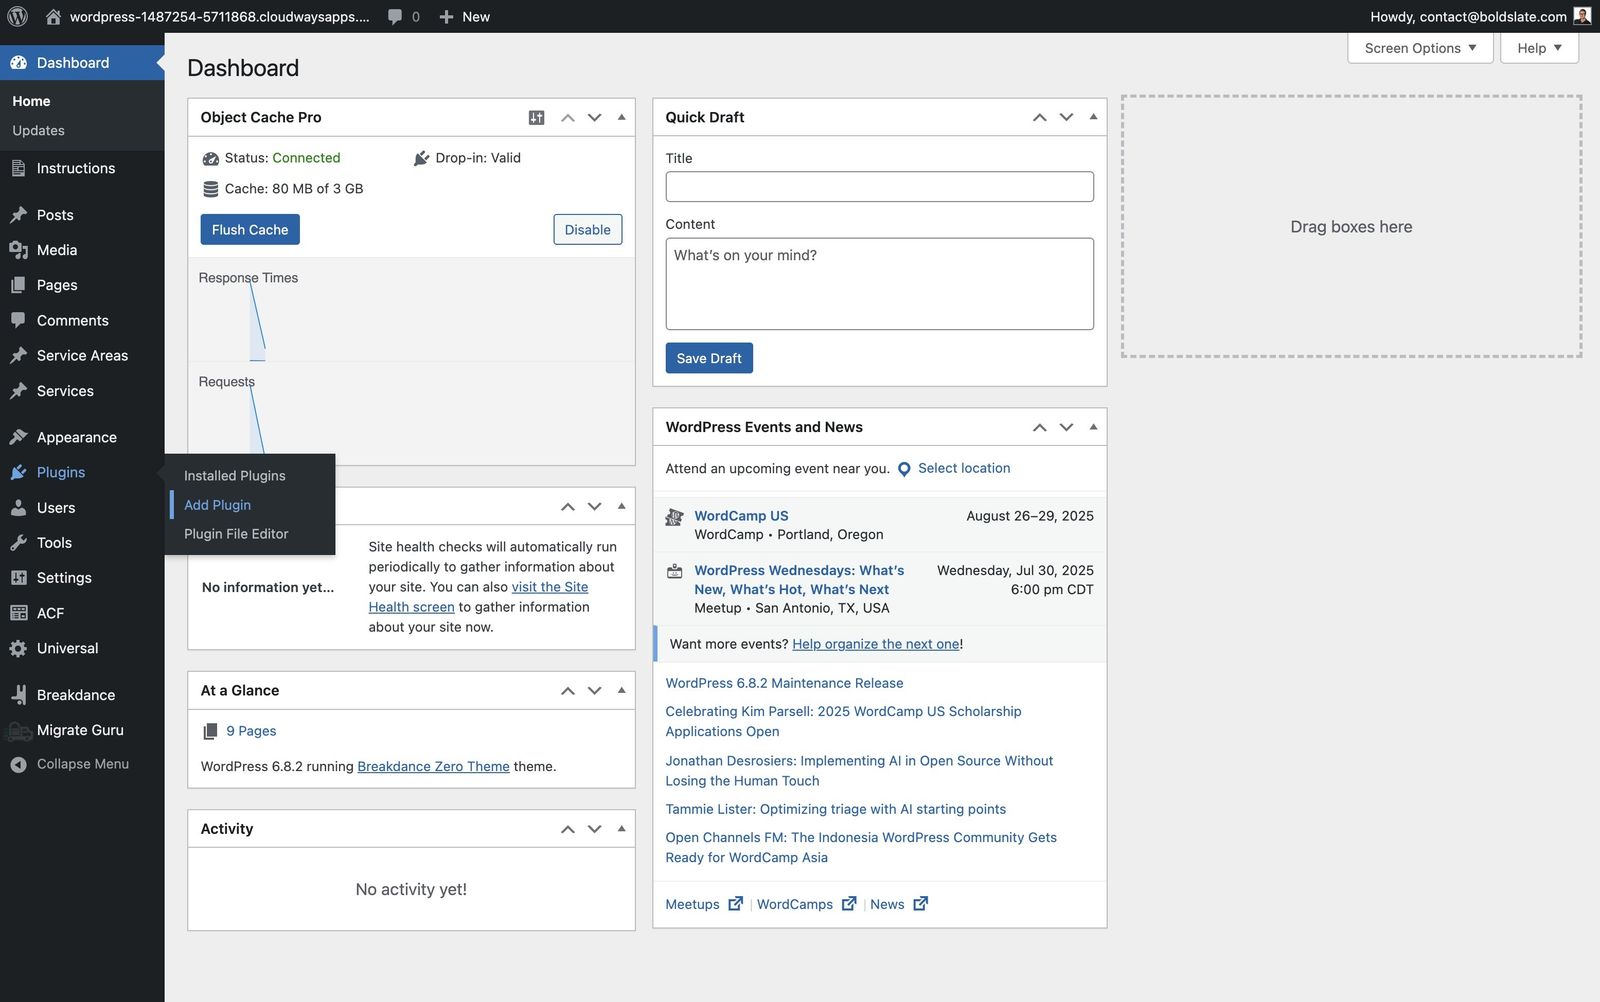
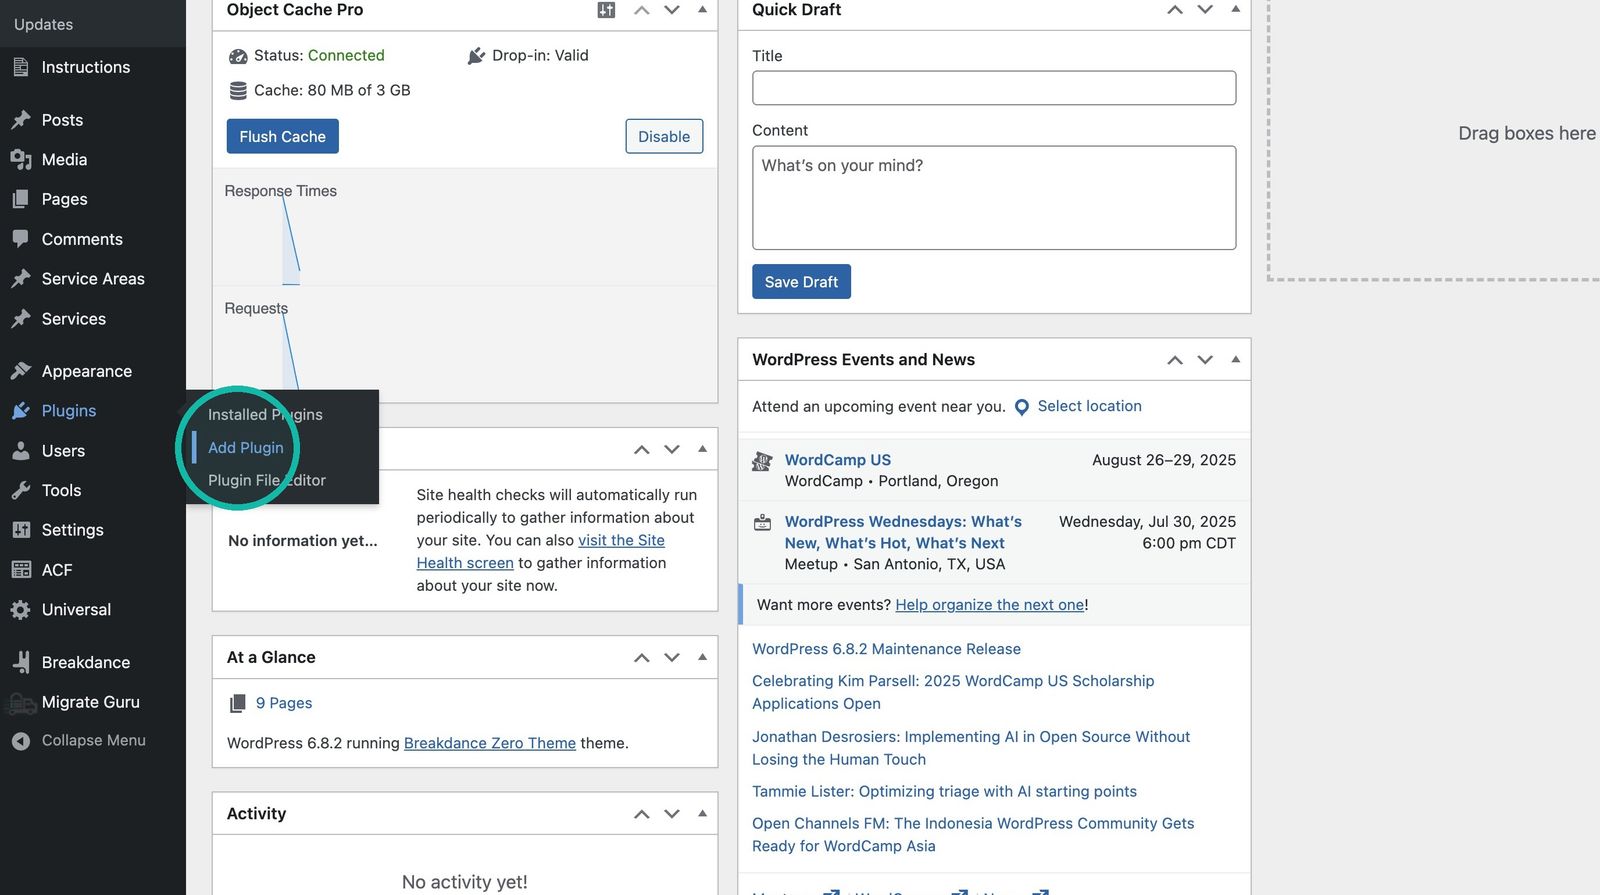
Open the plugin installer Go to Plugins > Add Plugin.
-
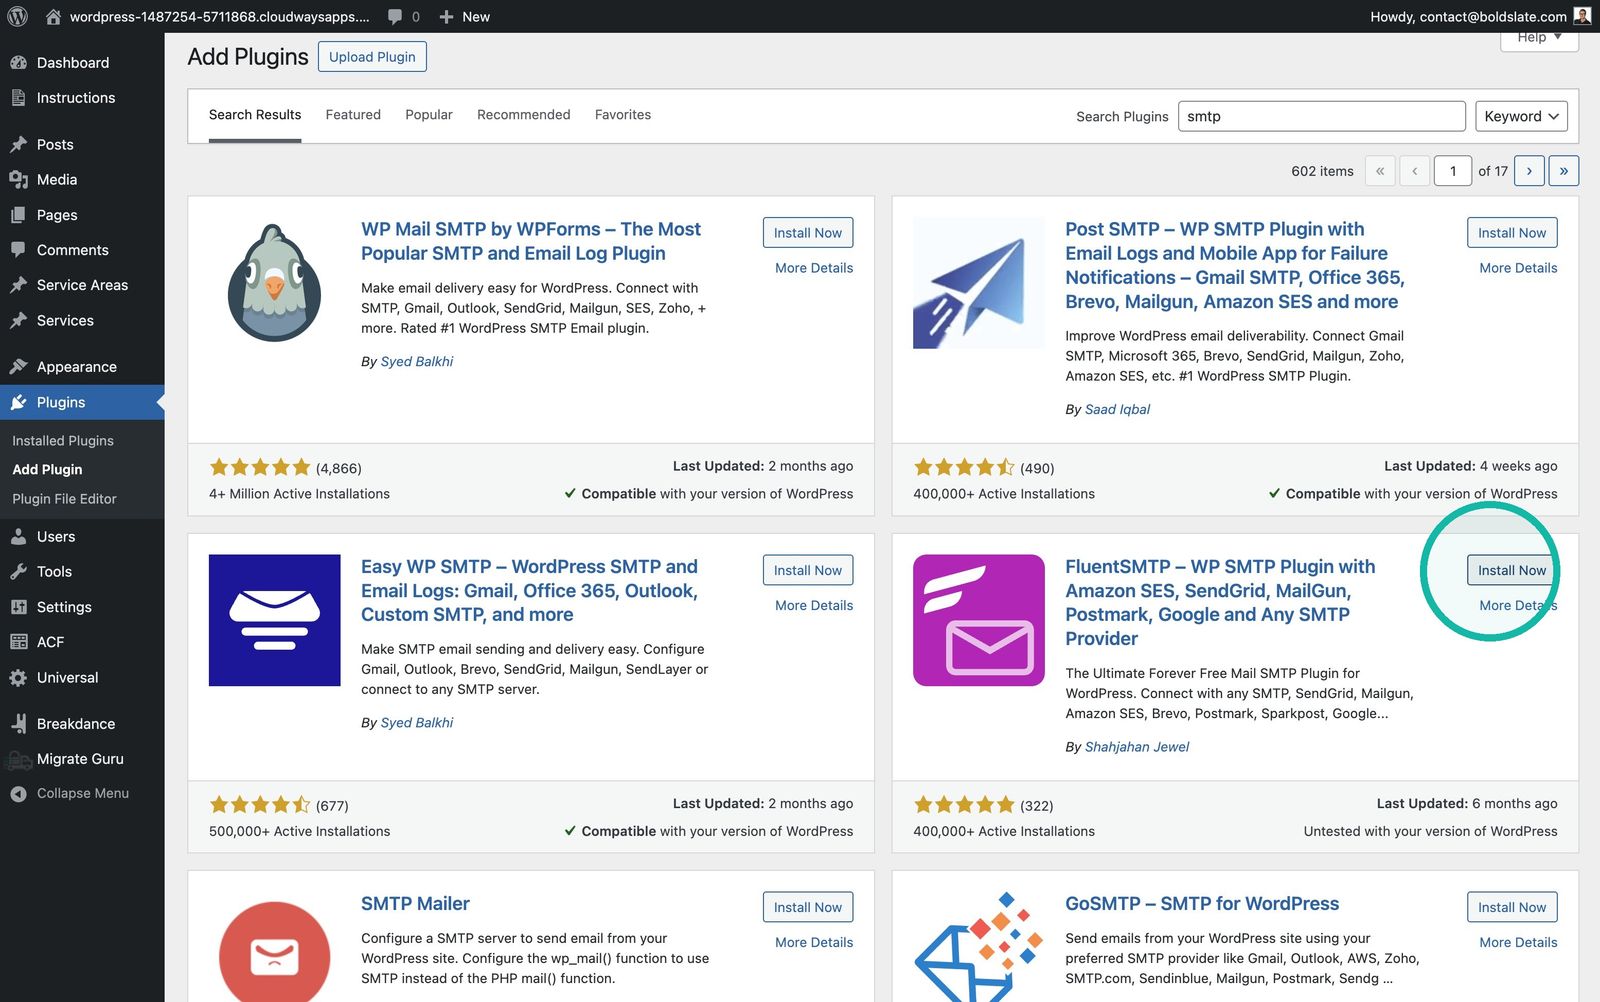
Install FluentSMTP Search for FluentSMTP, then click Install Now.
-
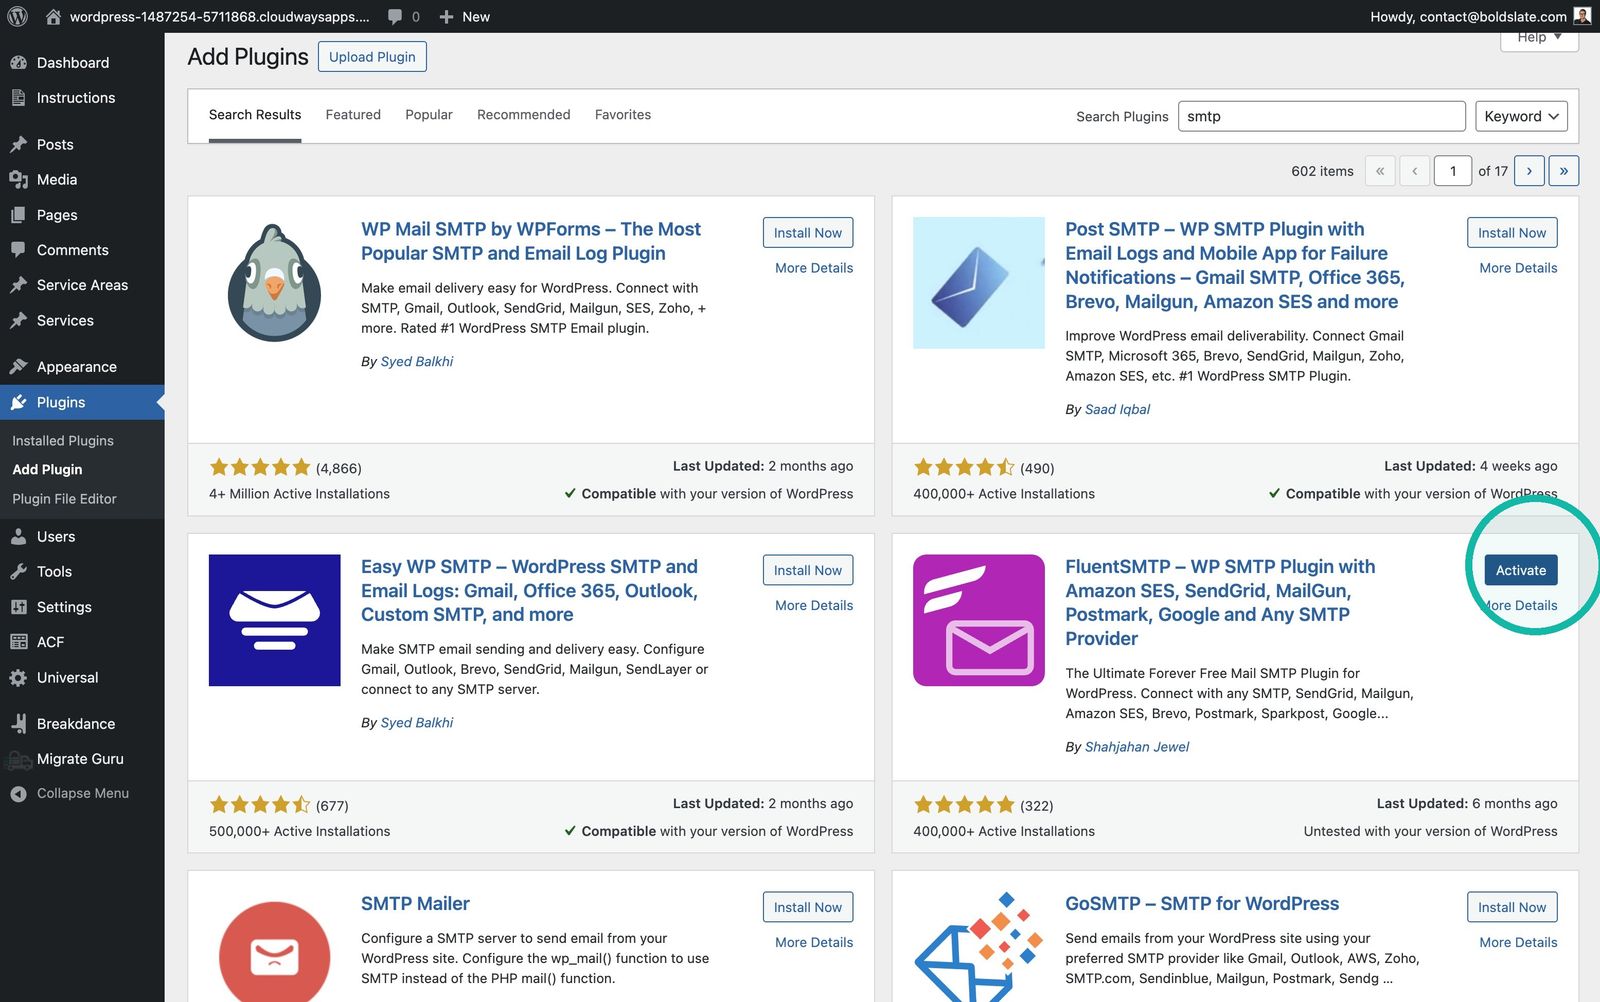
Activate it Click Activate.
Connect your email provider
-
Open FluentSMTP Go to Settings > FluentSMTP.
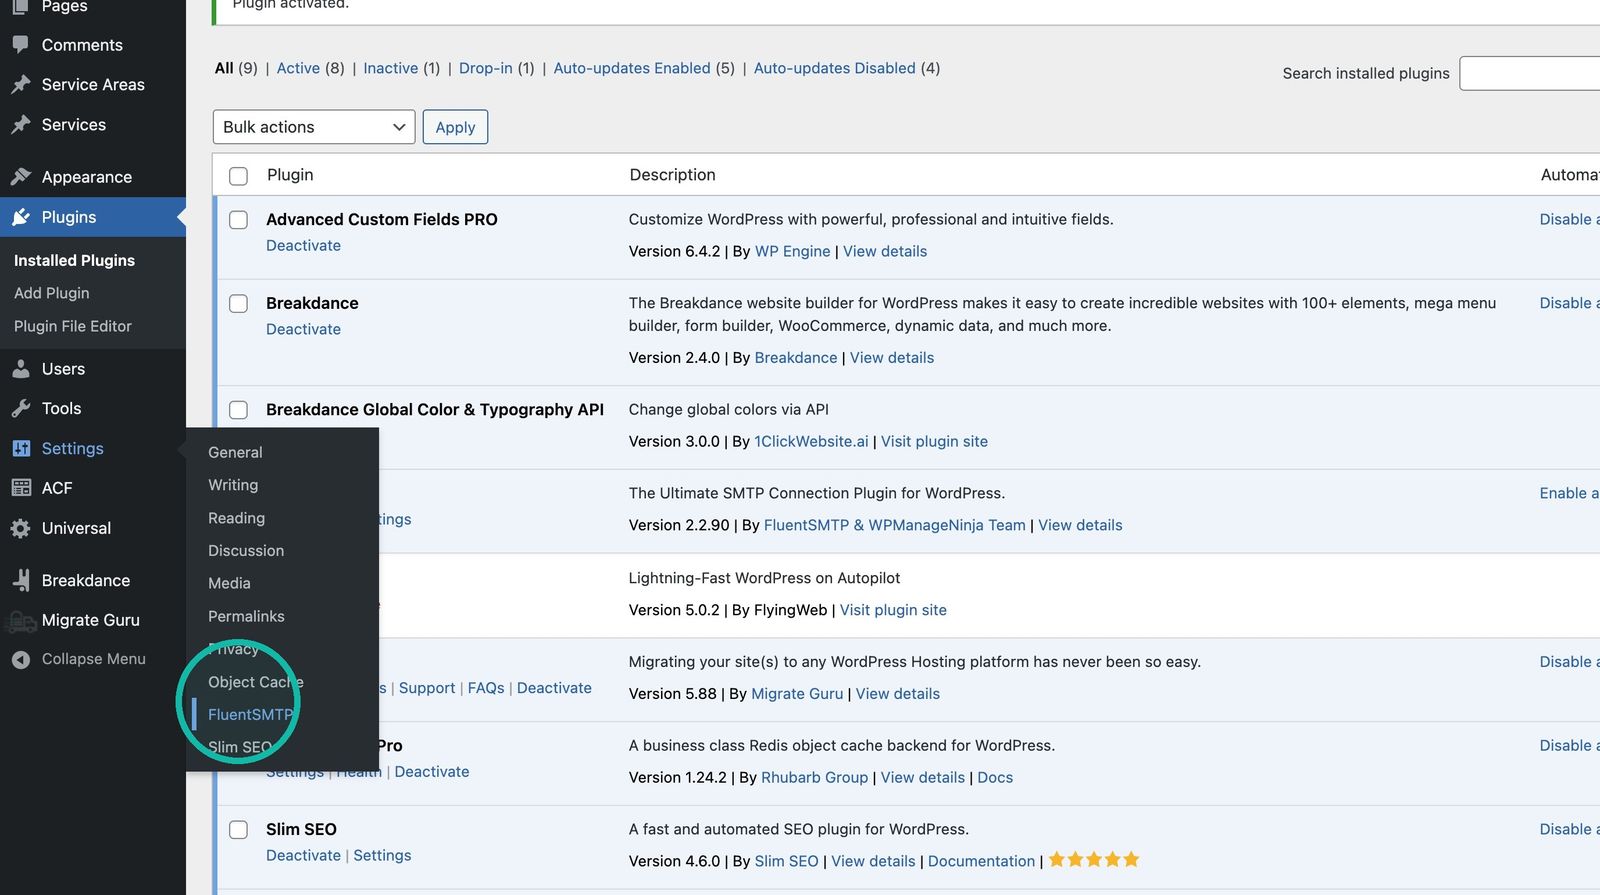
-
Choose the connection type Pick your email provider. If you have SMTP host, port, username and password details, choose Other SMTP.
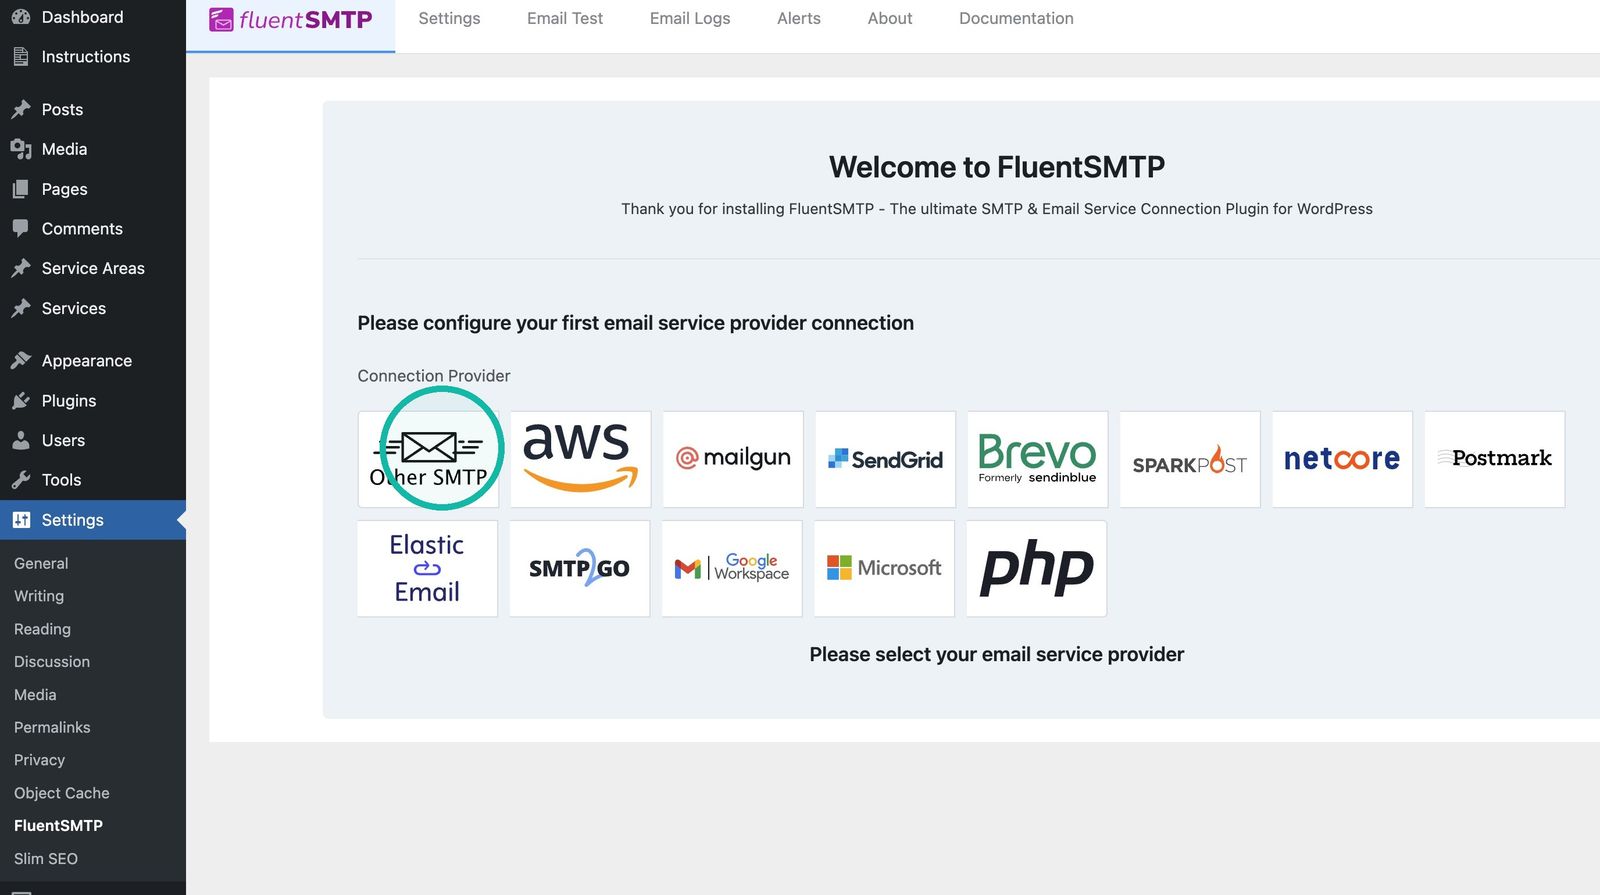
-
Enter the sender details Enter the From Email and From Name. Use an email address set up with your email provider.
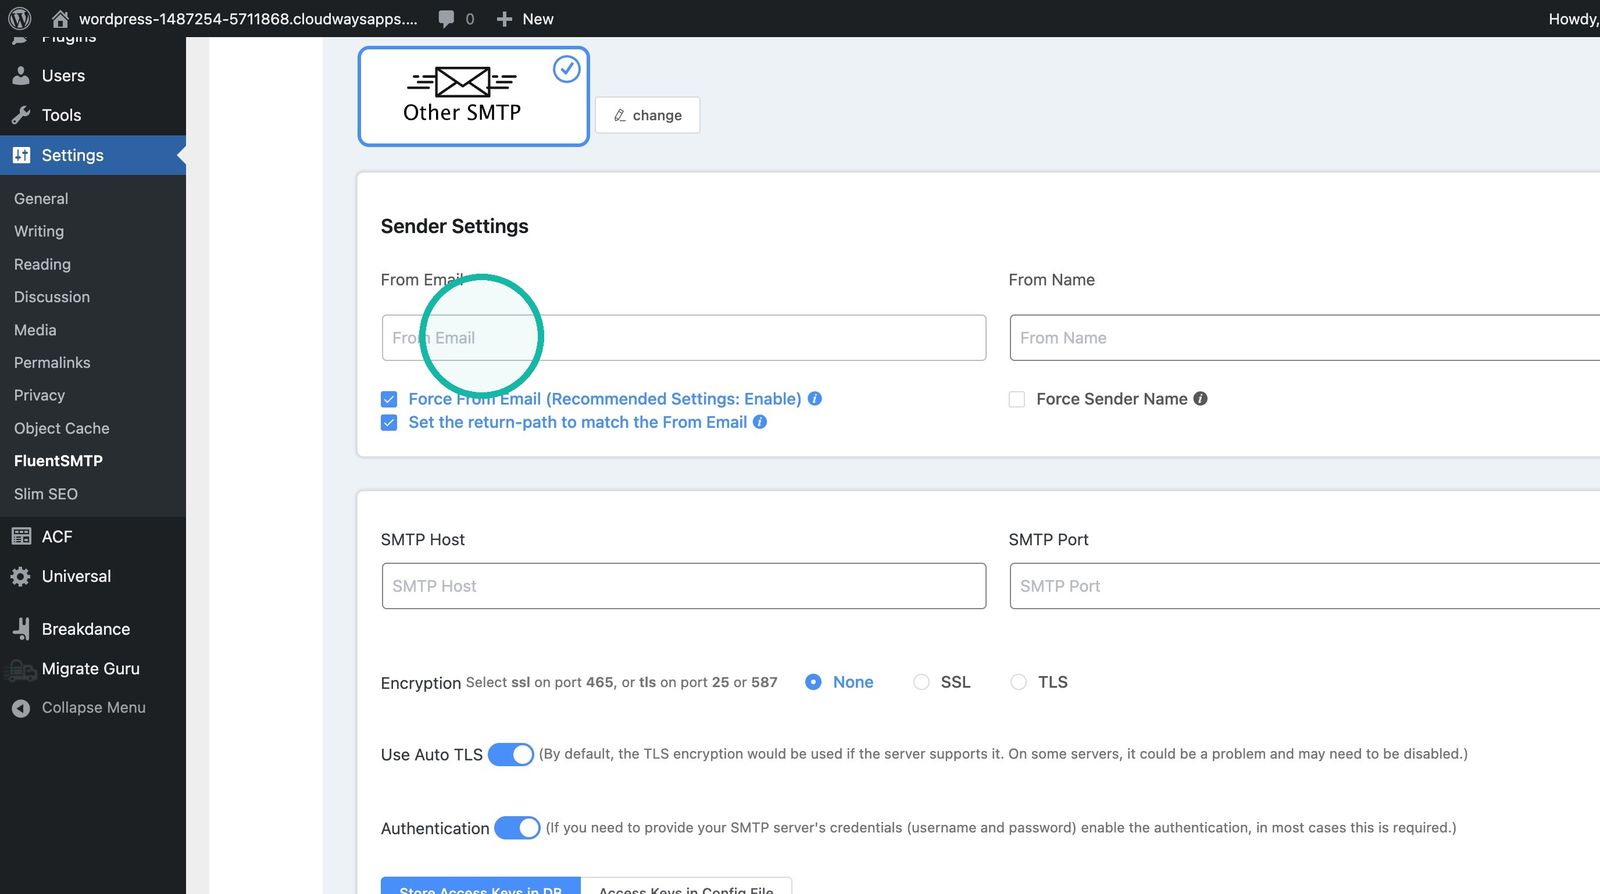
-
Enter the SMTP host and port Copy these from your provider's settings, not from the example in the screenshot.
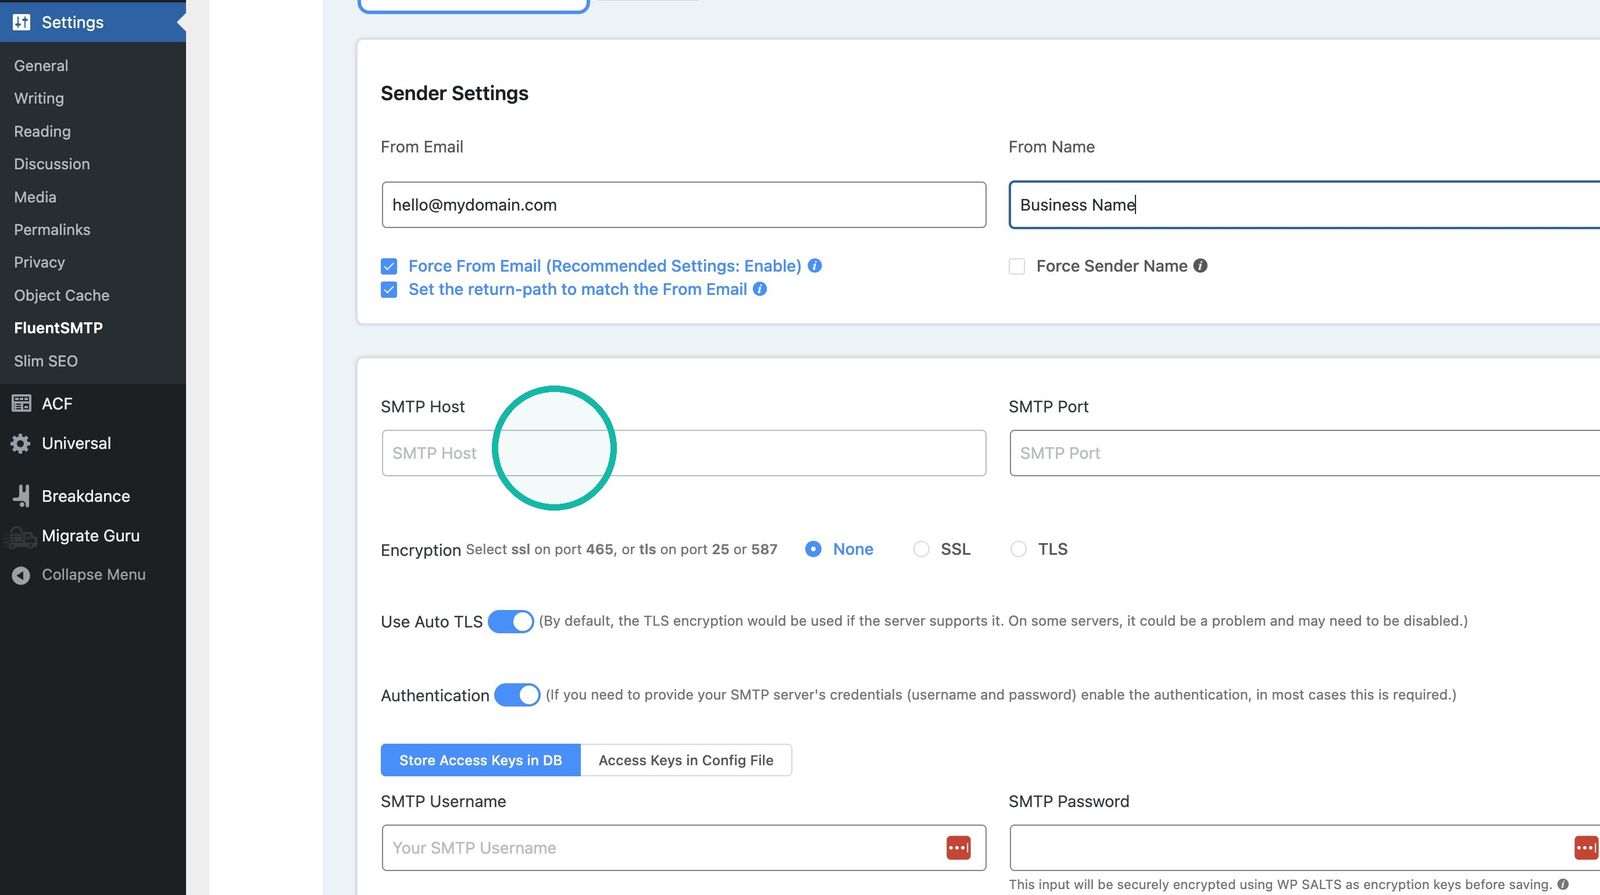
-
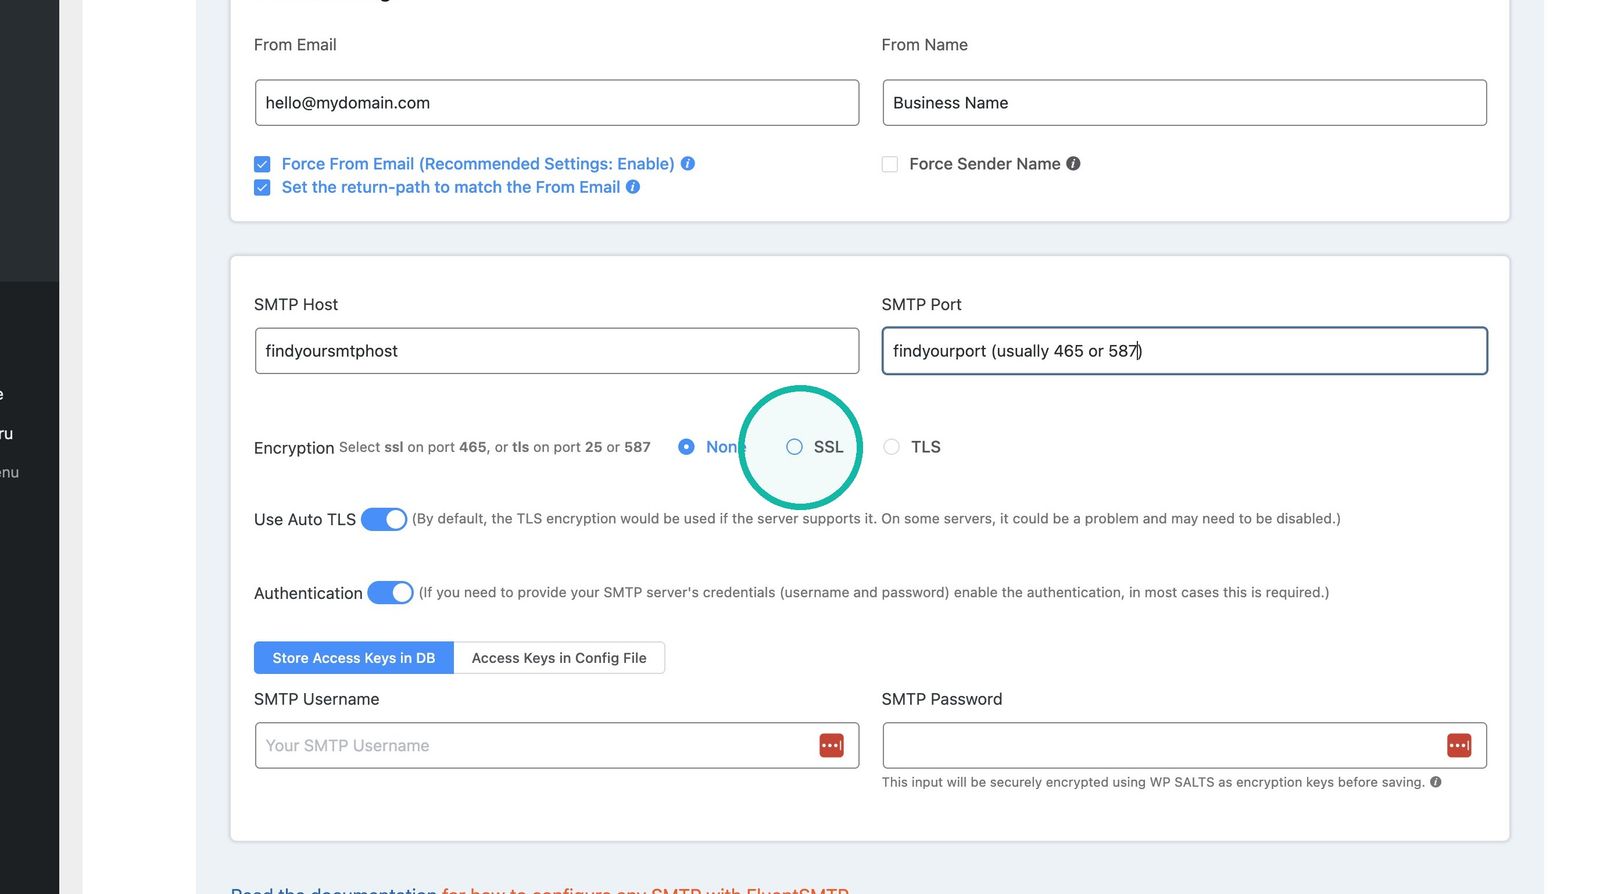
Choose the encryption Pick the encryption your provider requires. It should match the port: SSL for 465, TLS for 587.
-
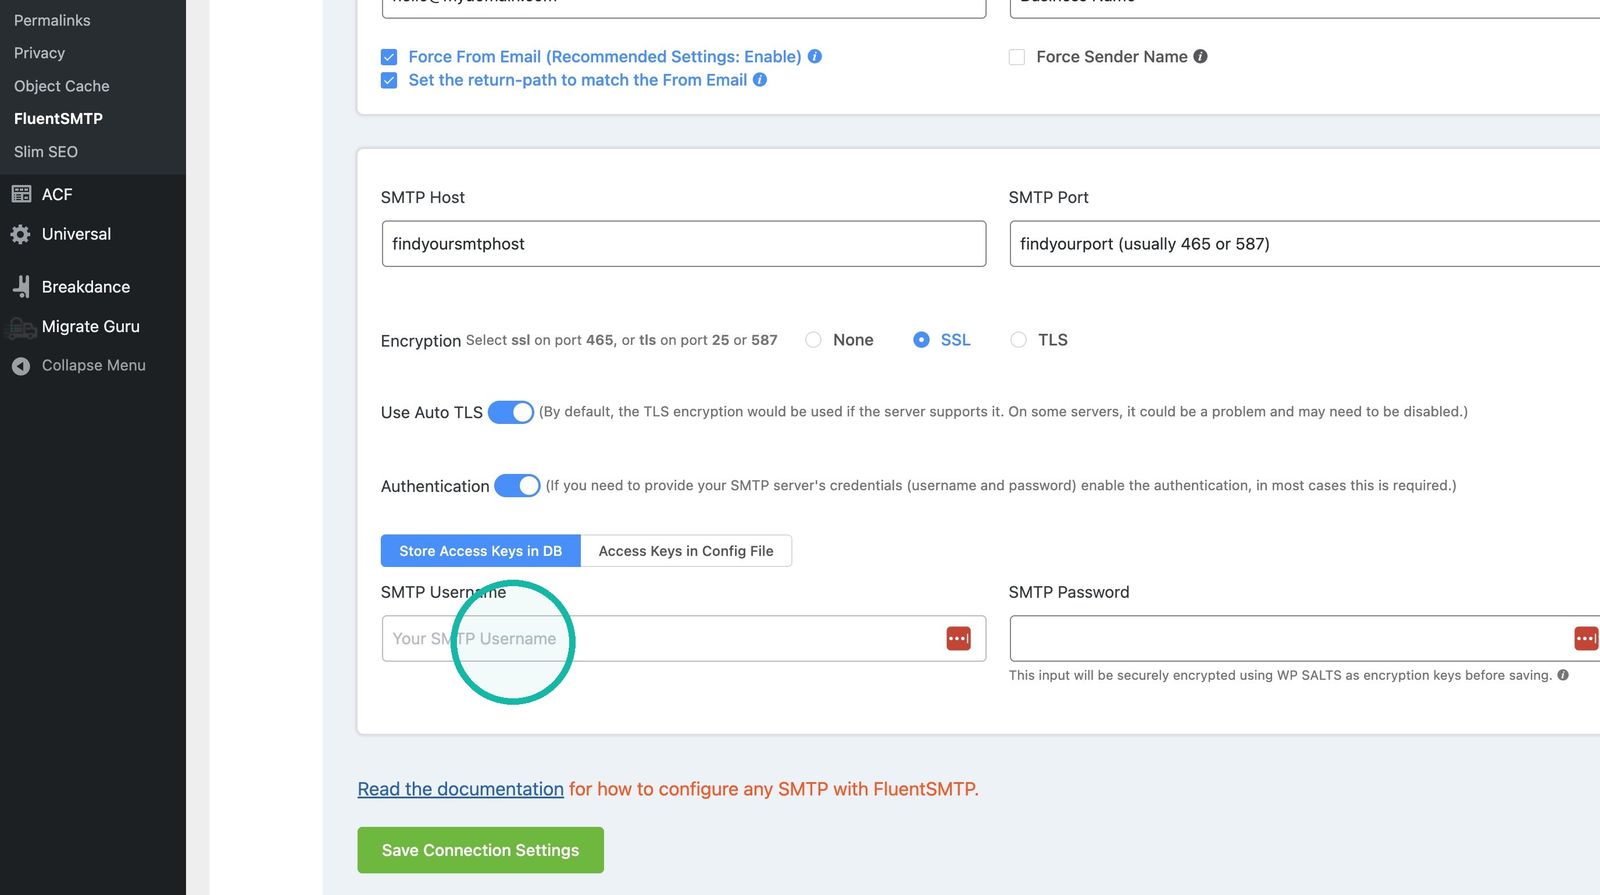
Enter your SMTP login Enter the SMTP username and password from your provider.
-
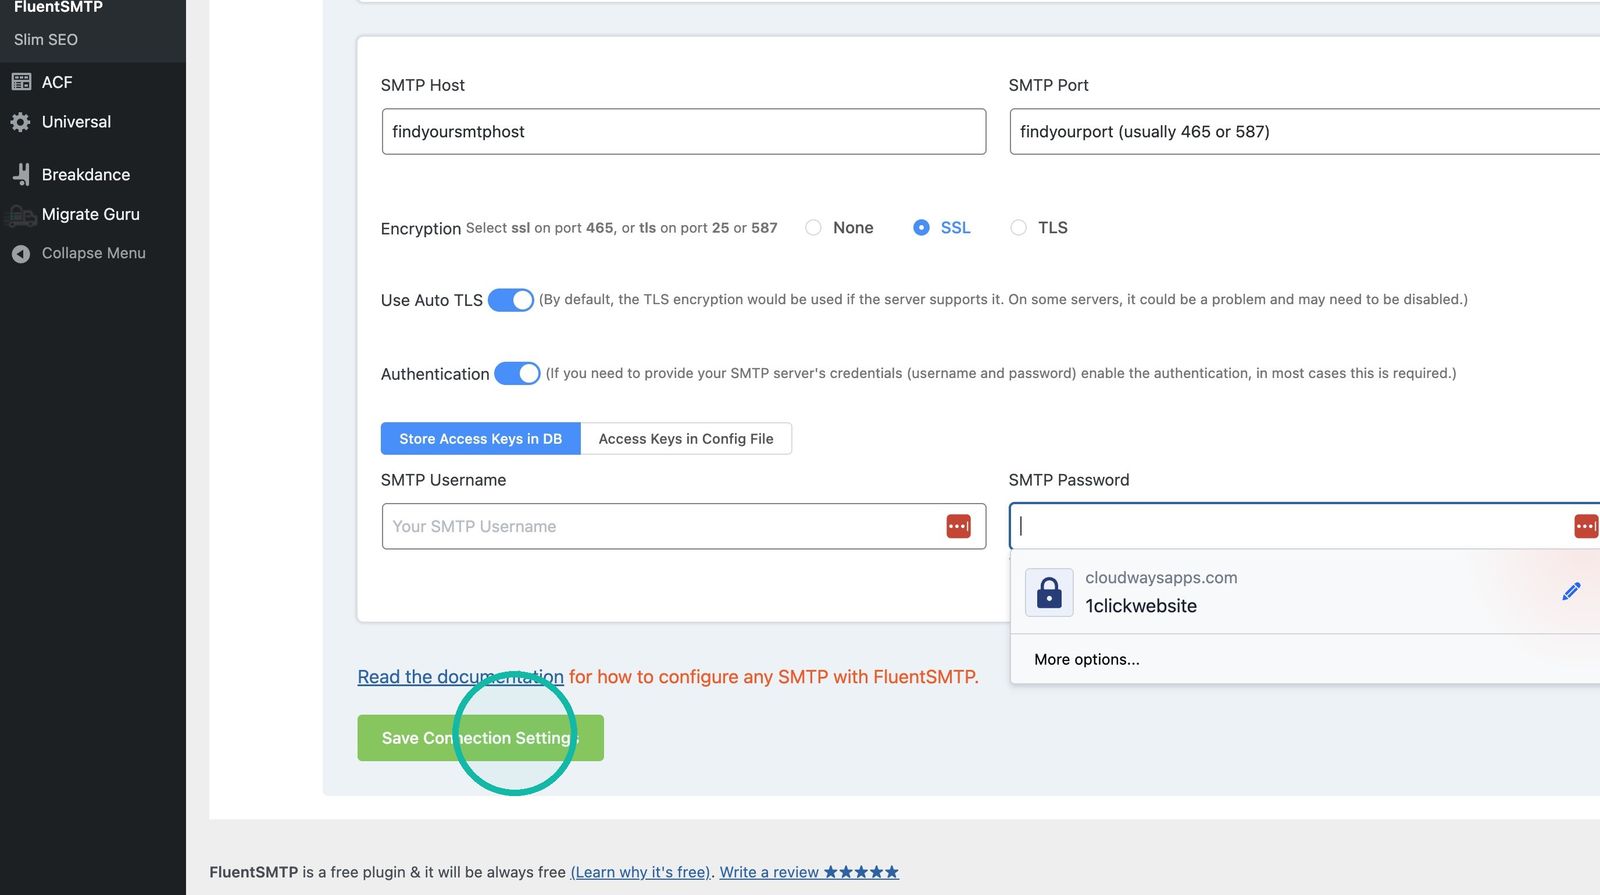
Save Click Save Connection Settings.
Good to know: the sender email should match the domain you set up with your email provider, or emails may land in spam.
Send a test email
-
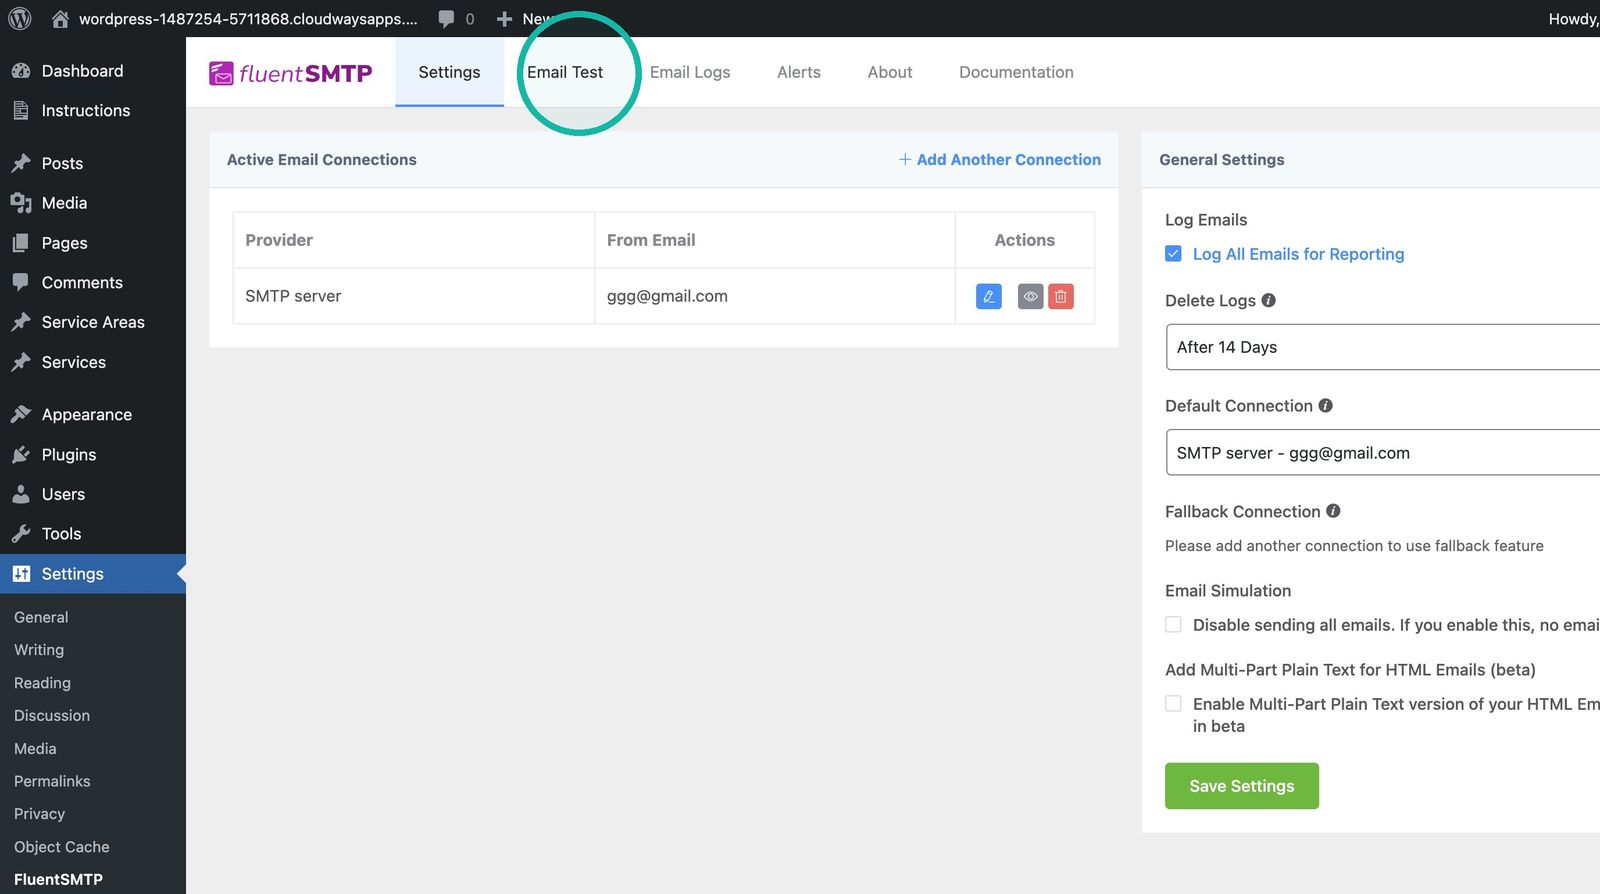
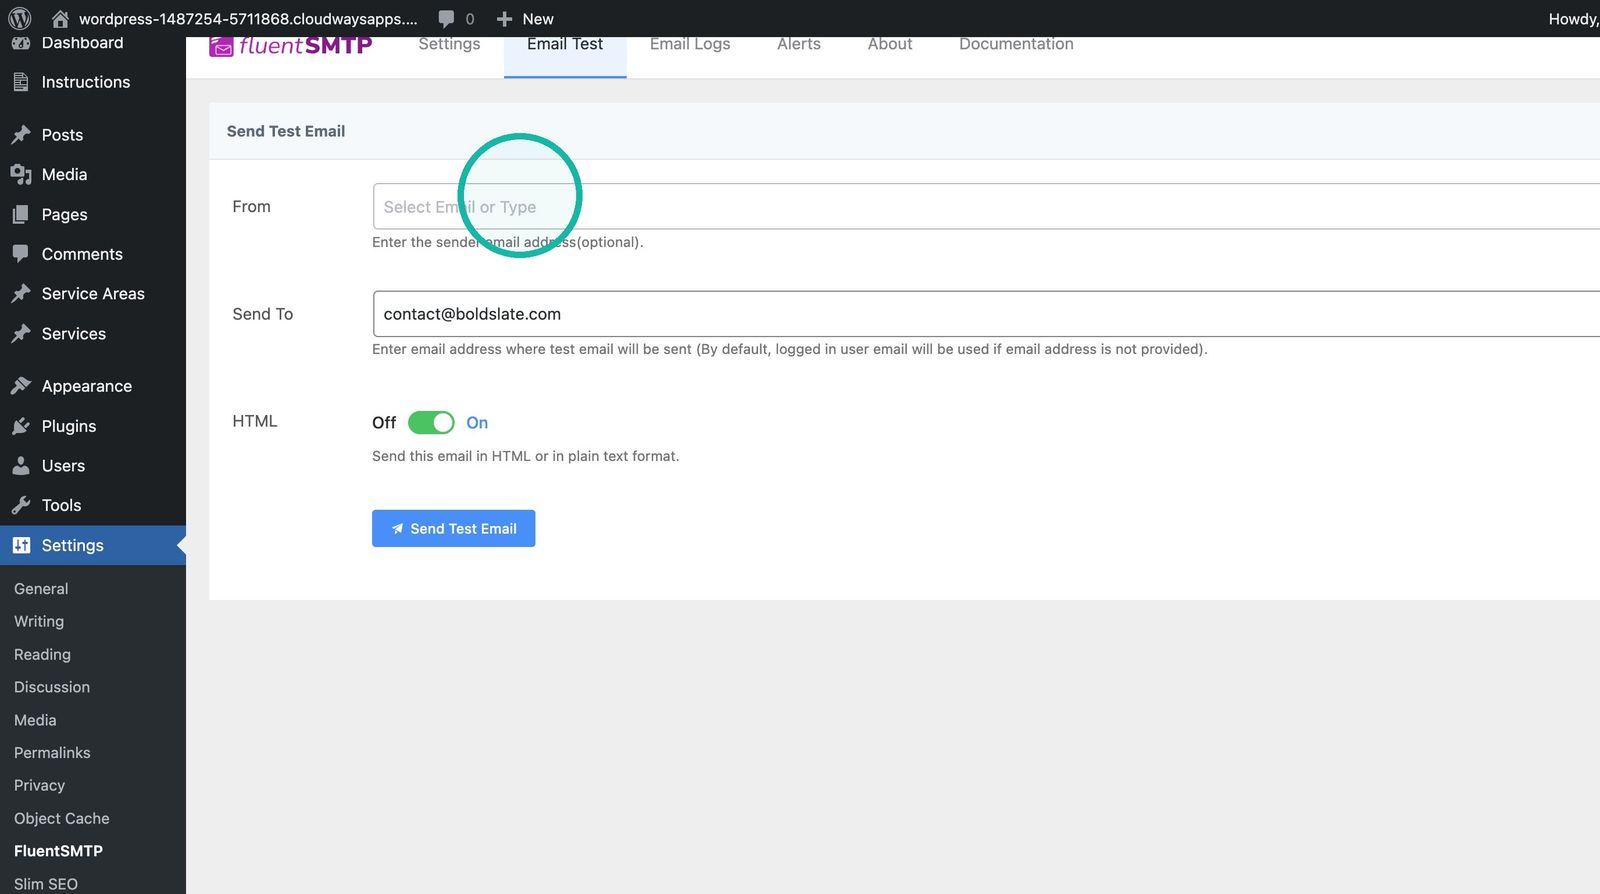
Open Email Test Click Email Test in FluentSMTP.
-
Choose the sender and recipient Pick the sender you just set up in From, and enter an inbox you can check in Send To.
-
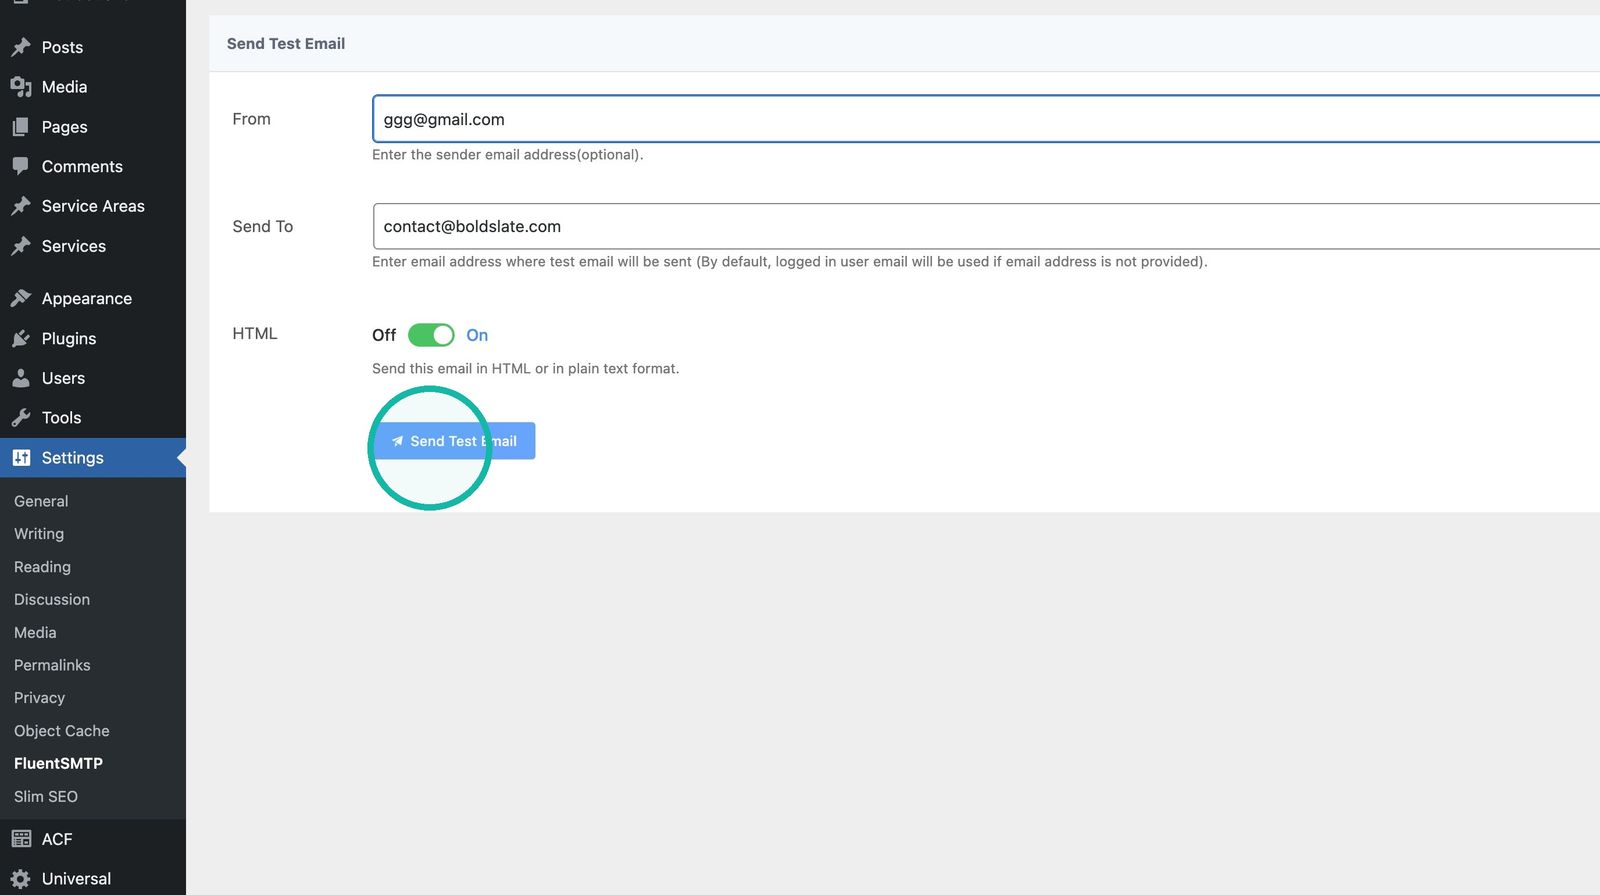
Send it Click Send Test Email, then check that inbox.
Troubleshooting
- Test failed: recheck the host, port, encryption, username and password.
- Test sent but nothing arrived: check spam or junk first.
- Still not working: chat with us and we'll check your site's email setup.
Still stuck?
Chat with us and we'll reply right here, usually in a few minutes.